Bonjour! et Bievenue!
Je partage avec vous un truc pour agencer votre pâte de structure
aux encres hybrides de Kraftin Kimmie.
Hello Krafty Friends!
I am sharing with you today a
a tip to match the color of your texturing medium, embossing paste
with a selected krafty hybrid ink .
J'ai essayé différentes sortes de gel /mortier de structure
de mon inventaire, inluant le gel à billes transparentes, et j'ai obtenu des résultats satisfaisants avec tous.
j'aimerais attirer votre attention sur un détail:
le mortier de structure (pâte) séchera opaque, tandis que le gel, lui, séchera transparent, mat ou luisant selon la sorte.
with a selected krafty hybrid ink .
J'ai essayé différentes sortes de gel /mortier de structure
de mon inventaire, inluant le gel à billes transparentes, et j'ai obtenu des résultats satisfaisants avec tous.
j'aimerais attirer votre attention sur un détail:
le mortier de structure (pâte) séchera opaque, tandis que le gel, lui, séchera transparent, mat ou luisant selon la sorte.
I tested different paste/gel medium that I had in my stash:
Including Glass beads gel and white opaque flakes texture gel,
and got very satisfying results with all.
and got very satisfying results with all.
I would like to draw your attention to the following difference between paste and gel:
paste, will dry opaque; whereas gel will dry clear
both are nice, depending on the effect you want to create.
both are nice, depending on the effect you want to create.

Je propose de préparer de petites quantités à la fois (ex. une cuillérée à table), de le garder dans un petit contenant, couvert de pellicule plastique; parce que la durée de conservation n'est pas très longue; à ce médium, vous ajoutez quelques gouttes d'encre jusqu'à l'obtention de la couleur souhaitée.
Pour diversifier, ajouter des brillants, des billes de verres mini, des flocons, etc.
I suggest to prepare small quantities of the mix at a time (ie. one tablespoon), as it keeps well in a small container, protected with a plastic wrap, but will dry with time.
to obtain desired intensity, add as many drops of ink as needed,
to make the texture even more interesting,
I add glitter, mini glass beads, flakes etc.
Maintenant, une petite recette personnelle.
Avant d'ajouter du médium de texture,
j'aime créer un arrière plan en utilisant le même stencil, et choisir quelques formes au hasard, pour y ajouter la texture.
ce résultat ajoute un détail intressant.
Now a fun way to create a different look on your projects.
Before I add paste to give texture,
I like to create a background by brushing ink using the same stencil I will use to add texture on my project. It gives an interesting dimention.
Ci dessous, j'ai délicatement brossé les couleurs Bubbly Blue
et Stormy sky avant de sélectionner certains des flocons
auxquels je voulais donner de la dimension.
Below, I brushed Bubbly Blue, and Stormy Sky very lightly in some areas, `
before selecting the shapes I wanted to emphasize.

Pour s'assurer que le médium ne se répande pas
aux endroits non souhaités, j'entoure le motif sur lequel je veux travailler de post-it. Puis j'applique le medium.
To make sure I don't spread paste where not needed,
I use post-it to limit the area I want to apply paste.

Un autre petit truc pour ajouter du détail à vos créations:
utiliser deux couleurs d'encre pour créer l'arrière plan
avant de rehausser de médium certaines formes.
ci dessous j'ai choisi Charmin Chartreuse et Stormy Sky
avec le stencil Lots O'Dots pour créer l'arrière plan.
j'ai ensuite appliqué la pâte sur certaines formes.
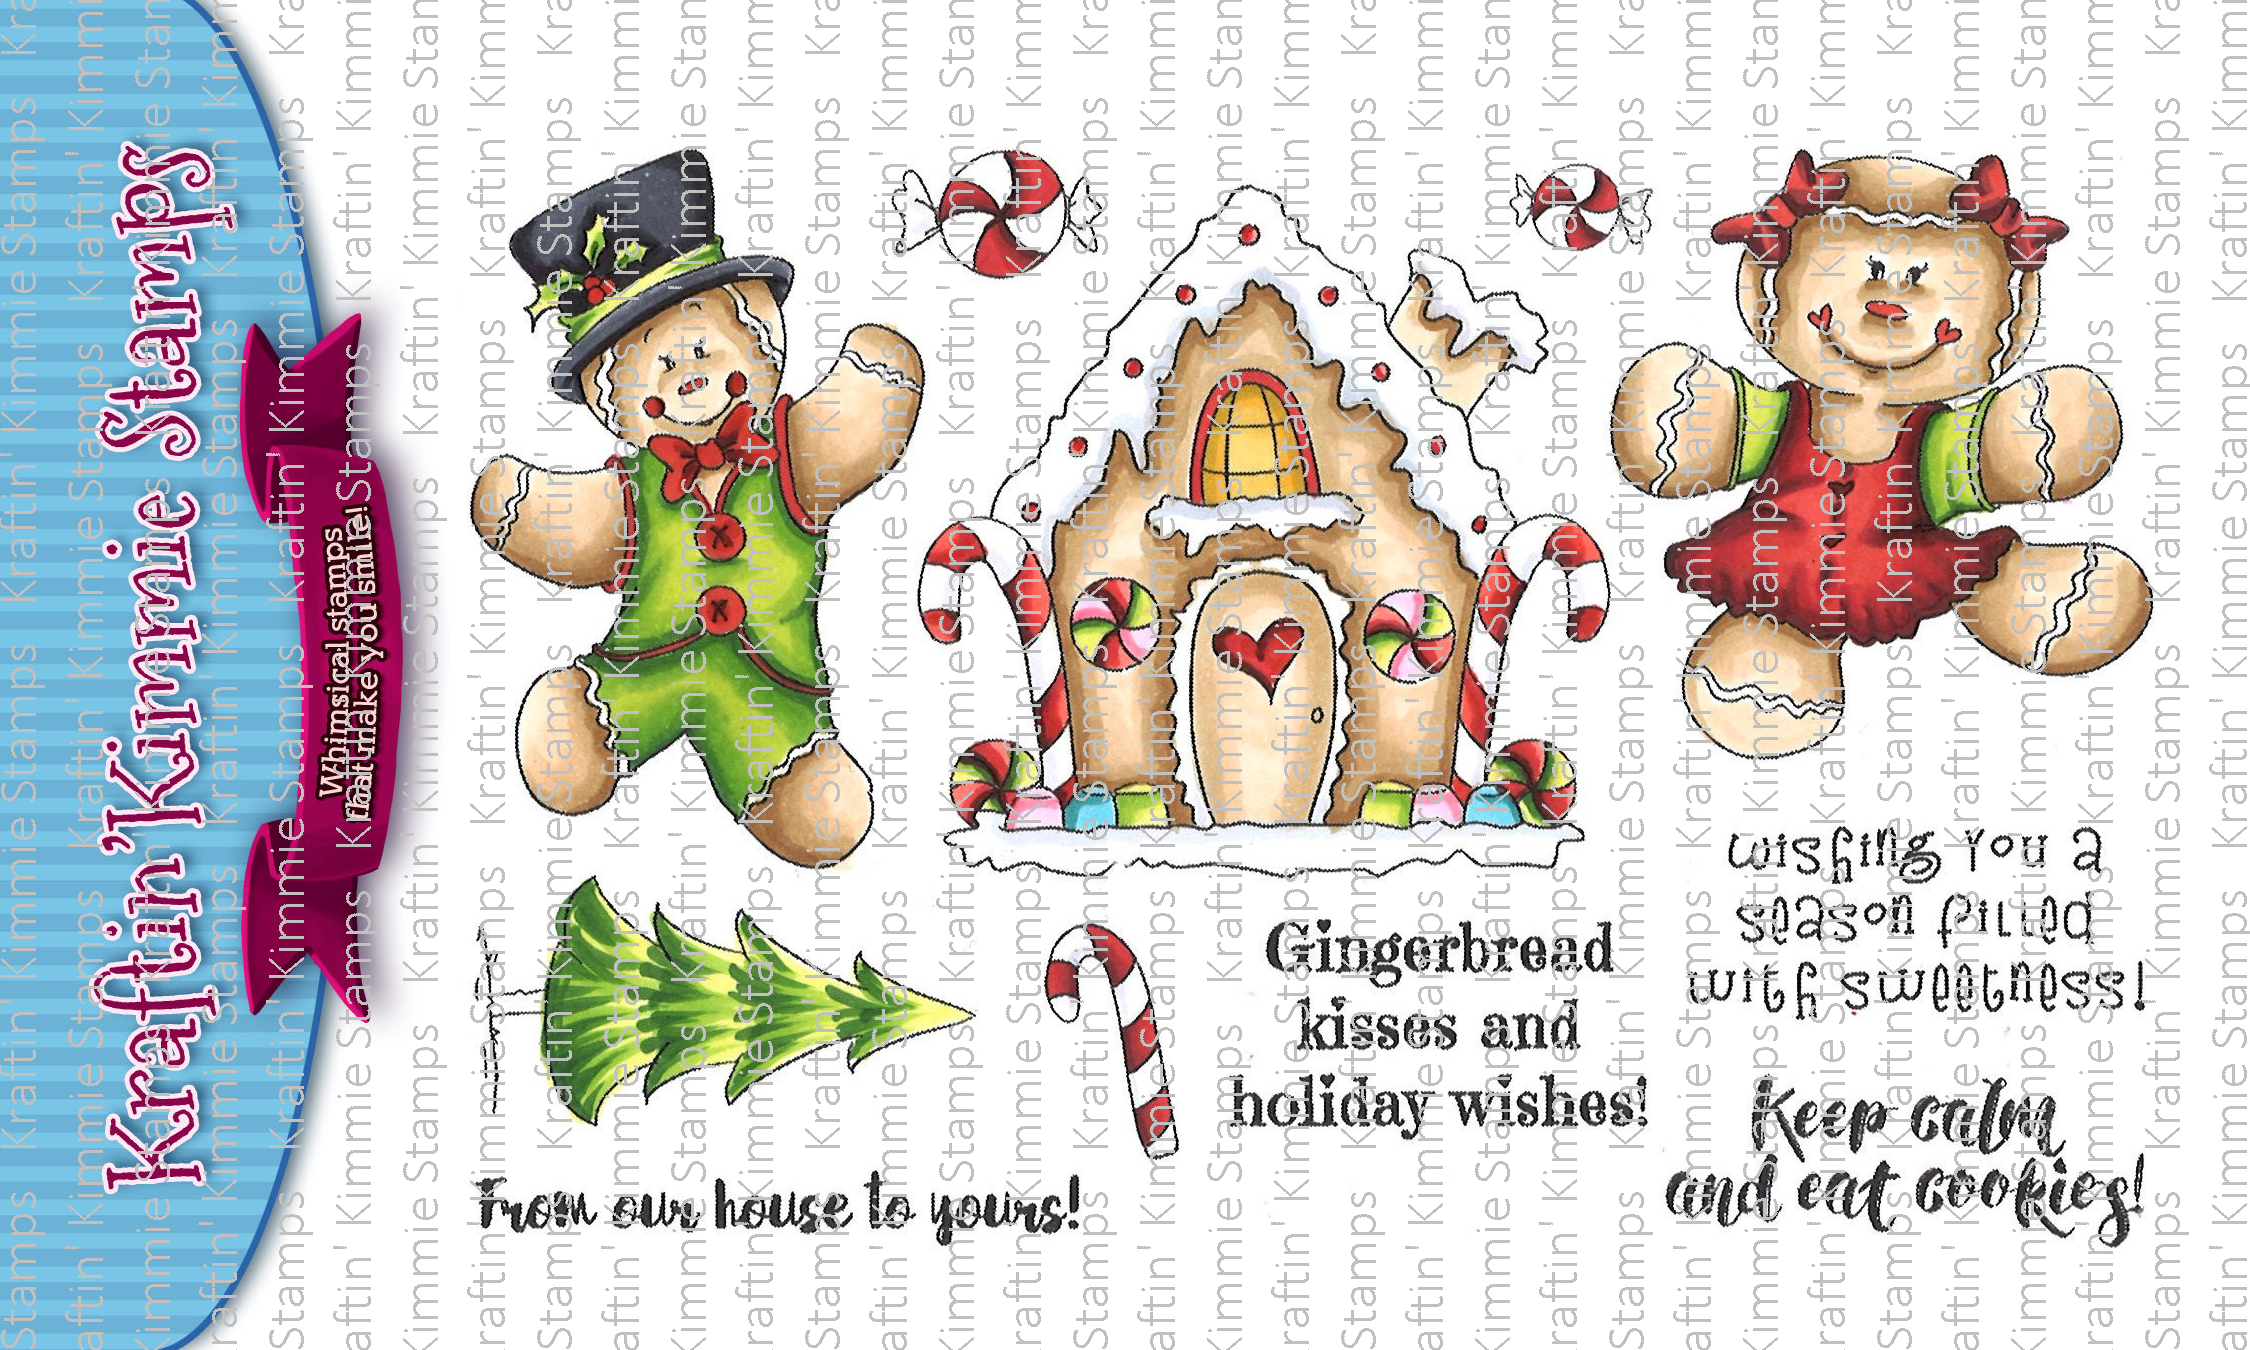
Another tip to add an interesting detail is to mix two shades of inks for mapping, and a very contrasting one for embossing. as seen on the image at the right, with the little gingerbread house where I used Charming Chartreuse and Stormy sky inks with Lot's o' dots stencil to create the base of the stencil work, then, I added the texture paste on selected shapes.

Voici d'autres projets, utilisant la même technique.,
Below other examples of projects on which I made my own colored paste, and
used the above techiques.

Vous trouverez :
les encres KRAFTIN KIMMIE: ici
Les stencils KRAFTIN KIMMIE; ici
Les merveilleuses étampes: ICI
You will find:
all KRAFTIN KIMMIE INKS here
KRAFTIN KIMMIE STENCILS: HERE
STAMPS: Here
J,espère que vous essaierez ces petites recettes
et que vous nous les montrerez sur notre page Facebook
Hope you try your own recipes, and come show us on the Facebook page!
Happy Krafting!

Before I add paste to give texture,
I like to create a background by brushing ink using the same stencil I will use to add texture on my project. It gives an interesting dimention.
Ci dessous, j'ai délicatement brossé les couleurs Bubbly Blue
et Stormy sky avant de sélectionner certains des flocons
auxquels je voulais donner de la dimension.
Below, I brushed Bubbly Blue, and Stormy Sky very lightly in some areas, `
before selecting the shapes I wanted to emphasize.

Pour s'assurer que le médium ne se répande pas
aux endroits non souhaités, j'entoure le motif sur lequel je veux travailler de post-it. Puis j'applique le medium.
To make sure I don't spread paste where not needed,
I use post-it to limit the area I want to apply paste.

Un autre petit truc pour ajouter du détail à vos créations:
utiliser deux couleurs d'encre pour créer l'arrière plan
avant de rehausser de médium certaines formes.
ci dessous j'ai choisi Charmin Chartreuse et Stormy Sky
avec le stencil Lots O'Dots pour créer l'arrière plan.
j'ai ensuite appliqué la pâte sur certaines formes.
Another tip to add an interesting detail is to mix two shades of inks for mapping, and a very contrasting one for embossing. as seen on the image at the right, with the little gingerbread house where I used Charming Chartreuse and Stormy sky inks with Lot's o' dots stencil to create the base of the stencil work, then, I added the texture paste on selected shapes.

Voici d'autres projets, utilisant la même technique.,
Below other examples of projects on which I made my own colored paste, and
used the above techiques.

Vous trouverez :
les encres KRAFTIN KIMMIE: ici
Les stencils KRAFTIN KIMMIE; ici
Les merveilleuses étampes: ICI
You will find:
all KRAFTIN KIMMIE INKS here
KRAFTIN KIMMIE STENCILS: HERE
STAMPS: Here
J,espère que vous essaierez ces petites recettes
et que vous nous les montrerez sur notre page Facebook
Hope you try your own recipes, and come show us on the Facebook page!
Happy Krafting!